

Apple’s relatively new M1 Macs that rely on Apple silicon have a number of usability differences from previous Intel-based Macs. One difference that’s tripped some readers up is how to start up or boot the M1 Mac from an external drive. Intel Macs generally make this easy.
You might want to use a bootable external drive to have a higher-capacity SSD than is offered or affordable via Apple’s pricing. Or you want one for backup in case something goes very pear shaped with your M1 Mac.
Testing indicates that the following are required to start up from an external volume:
-
A Thunderbolt 3 drive. That’s not just one that uses the USB-C connector, but is a native USB 3.1 or 3.2 drive. Nor can you use a Type A adapter for a USB 3.0 or later drive. Success appears to require a native Thunderbolt 3 drive.
-
Erasing the drive completely, then formatting it as APFS.
-
Obtaining a Big Sur installer, and then installing Big Sur from your M1 Mac directly onto the external drive. (This will allow only an M1 Mac to boot from the drive; Intel Macs will be unable to start up from your M1-prepared external drive.)
Let’s expand on each point.
Thunderbolt 3 drive
Most inexpensive external drives use a flavor of USB 3 to connect over USB-C. Thunderbolt 3 is generally reserved for high-performance drives and arrays of drives used for graphics and video purposes. However, One World Computing offers a specific line of lower-cost, bus-powered Thunderbolt 3 SSDs. (Some people have apparently been able to get a USB 3 drive to work for this, but no one has narrowed down which ones or why, so it’s impossible to recommend it as a course of action.)
With an SSD inside, OWC charges $199 for 480GB and $299.75 for 1TB. You can purchase higher capacities, or just get its Envoy Express enclosure, which runs $79, to which you can add any SSD that’s designed for the 2280 M.2 NVMe standard. (That sounds like a mouthful, but you can search on that to find compatible SSDs.) OWC says it supports current capacities up to 4TB, and is designed to support future higher capacities, too. I opted to buy a relatively inexpensive 500GB SSD for now (about $75) so I could have a bootable option.
Erase and format as APFS
To use Big Sur, the drive has to be formatted as APFS. But reports indicate that you may not be able to just change the formatting on an existing drive, as invisible partitions used for purposes related to booting from an Intel drive from a previous macOS installation on the drive could cause issues. To avoid that, select the drive in Disk Utility, click Erase, and follow prompts to create a single APFS container. This should wipe out any conflicting data structures.
Obtain the Big Sur installer
Since you have to be running Big Sur on an M1 Mac, you should be able to download the installer directly from the Mac App Store via this link. Big Sur 11.1 or later is required.
Install Big Sur onto the external drive
Launch the Big Sur installer, and select the external drive as the target. Follow the prompts and steps. When your Mac restarts, it will boot from the external drive to complete the installation.
Restart from your internal drive or switch between
To get back to your internal drive as the startup volume, you can open the Startup Disk preference pane while macOS is running on the external drive and select the internal drive. Then click Restart.
You’ll have to unmount the external drive after the restart is complete, and some people have reported that Big Sur says one of its partitions remains in use. (Catalina and Big Sur invisibly divide a macOS into a volume containing system files and a volume with your user data; the data volume may not unmount correctly.) You might prefer to shut down at that point, unplug the external drive, and start up again.
You can also use recovery mode to change the startup disk. This is a bit more complicated with an M1 Mac than an Intel one, where you could simply hold down the Option key while restarting and select a drive (unless you had turned on certain security settings, in which case you’d need to use recovery mode to disable them).
Here’s how you change the startup drive from recovery mode with an M1 Mac:
-
If macOS is running, you need to shut down. A restart doesn’t work. Select > Shut Down.
-
When you see your Mac has powered down, hold down the power button until you see a prompt that says “Loading startup options.”
-
When the Options icon appears, you will also see a list of volumes next to it that you can select. Select the volume that you want to start up from.
-
Click Continue and the Mac restarts from that volume.
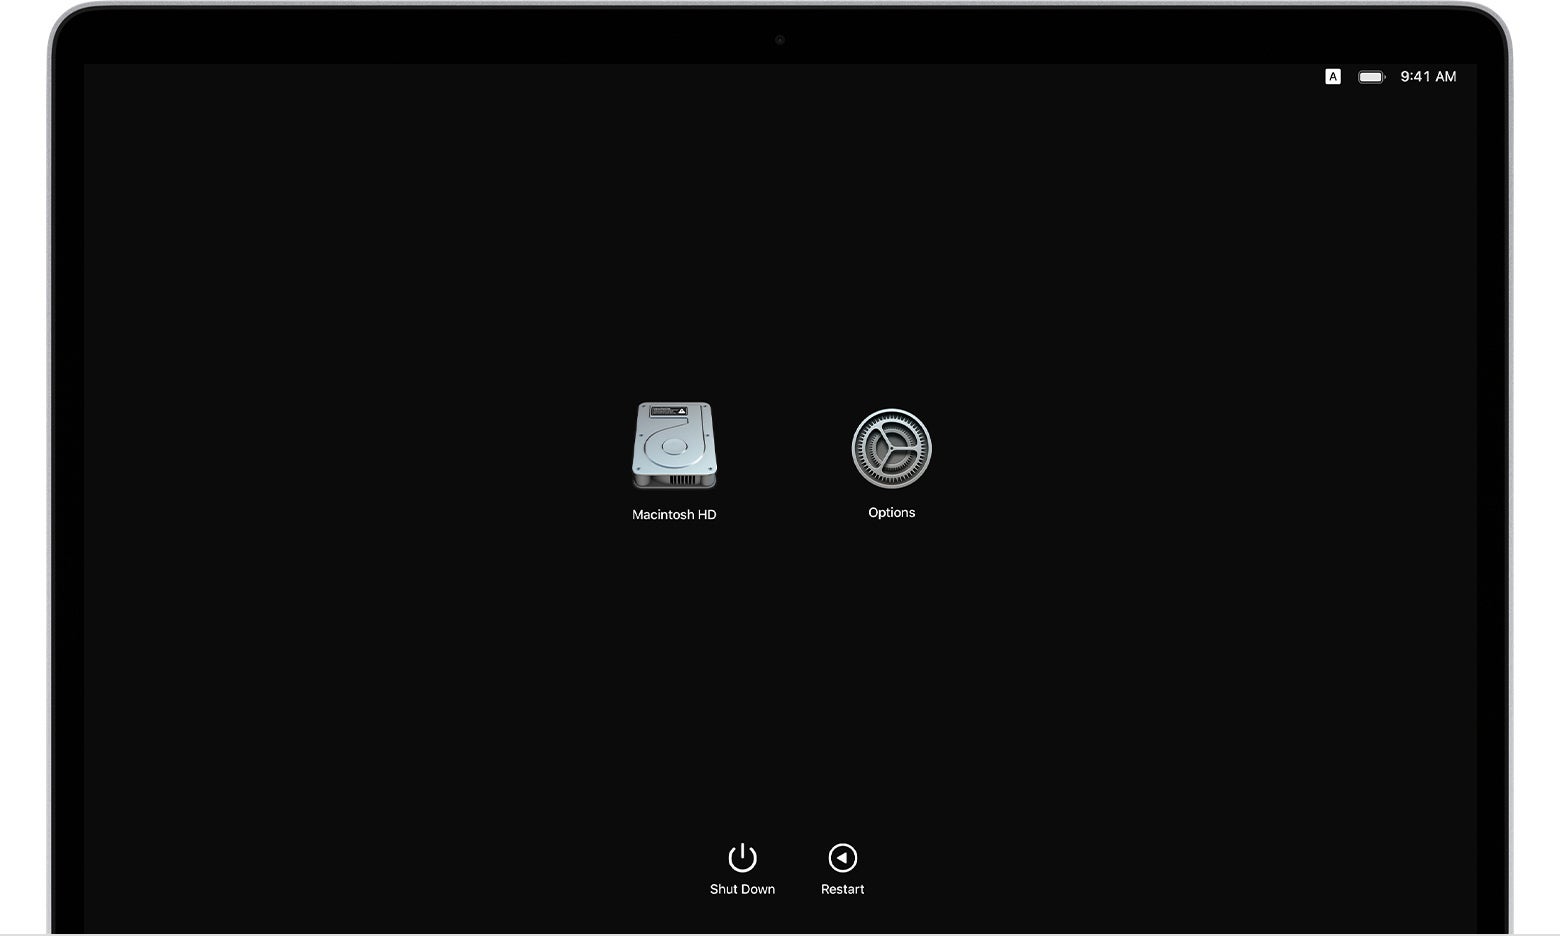 Apple
AppleThe startup screen for recovery mode on an M1 Mac lets you pick an alternative startup drive.
This Mac 911 article is in response to a question submitted by Macworld reader Gerald.
Ask Mac 911
We’ve compiled a list of the questions we get asked most frequently along with answers and links to columns: read our super FAQ to see if your question is covered. If not, we’re always looking for new problems to solve! Email yours to mac911@macworld.com including screen captures as appropriate, and whether you want your full name used. Not every question will be answered, we don’t reply to email, and we cannot provide direct troubleshooting advice.


