On Windows 10, when an external drive (USB flash drive, SD card, or secondary drive) stops working due to data corruption or another logical problem, DiskPart can help properly erase everything and start clean with a new partition.
DiskPart is a legacy command-line tool designed to manage drives, partitions, volumes, and virtual disks using Command Prompt, which usually works better than other Windows 10 tools, such as Disk Management and the File Explorer Format feature.
In this Windows 10 guide, we will walk you through the steps to use the DiskPart command-line tool to clean and format a hard drive to fix data corruption and other problems.
Important: These instructions will erase everything on the selected drive, and you cannot undo the changes. If the drive is still accessible, it’s recommended to back up the data before proceeding. If you have multiple drives connected to your device, it’s recommended to disconnect them to avoid selecting the wrong device.
How to fix drive problems with DiskPart on Windows 10
To use DiskPart to fix storage drive issues on Windows 10, use these steps:
- Open Start.
- Search for Command Prompt, right-click the top result, and select the Run as administrator option.
-
Type the following command to run DiskPart and press Enter:
diskpart -
Type the following command to list all the active drives and press Enter:
list disk -
Type the following command to select the drive that you want to clean and press Enter:
select disk DISK-NUMBERIn the command, replace DISK-NUMBER with the drive number you want to repair as it appears in the “Disk” column. If you do not perform this step correctly, you could erase the wrong drive. Proceed with caution.
-
Type the following command to wipe out the drive and press Enter:
cleanSource: Windows Central
-
Type the following command to confirm the drive still selected and press Enter:
lisk diskQuick note: The output should include an asterisk (*) next to the selected drive.
-
Type the following command to create a new partition and press Enter:
create partition primarySource: Windows Central
-
Type the following command to select the new primary partition and press Enter:
select partition 1 -
Type the following command to make the partition active and press Enter:
active -
Type the following command to format the partition using the NTFS file system, set a drive label, and press Enter:
format fs=FILE-SYSTEM label=DRIVE-LABEL quickIn the command, replace FILE-SYSTEM with the name of the file system you want to use, such as NTFS or FAT32, and replace DRIVE-LABEL with the name of the drive as you want it to appear in File Explorer. The quick option is optional to perform a format more quickly. However, if you are not sure about the drive’s condition, it is best to skip the option. Just remember that depending on the hard drive’s size, the format could take a long time.
This example formats the drive using the NTFS file system and names the partition “Data”:
format fs=ntfs label=Data quickSource: Windows Central
-
Type the following command to assign a letter and make the drive available in File Explorer and press Enter:
assign letter=DRIVE-LETTERIn the command, change DRIVE-LETTER for the letter you want the drive to use, which is not assigned to another device.
This example assigns the “G” letter:
assign letter=gSource: Windows Central
-
Type the following command to terminate DiskPart and press Enter:
exit -
Type the following command to close Command Prompt and press Enter:
exit
Once you complete the steps, if the drive does not have physical issues, it should now be available through File Explorer, and you can begin to store files on it.
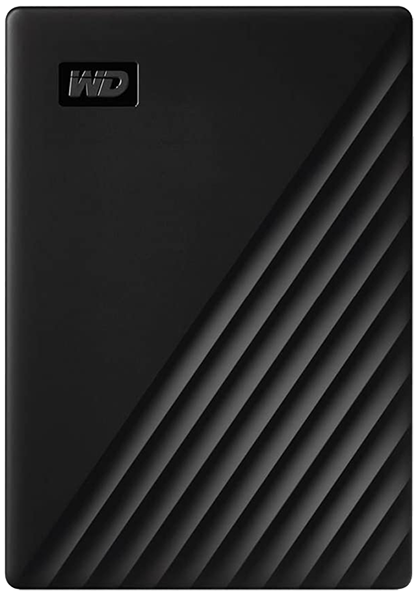
If you determine that the external storage has an issue related to hardware and you need a replacement, we recommend the Western Digital My Passport because it offers up to 5TB of reliable storage, and it has a compact design at a reasonable price.
Best For Most Users
Western Digital My Passport
Compact, affordable, and a lot of storage
It isn’t as fast as an SSD, but the Western Digital My Passport is a great option for anyone who just needs to store files without breaking the bank.
More Windows 10 resources
For more helpful articles, coverage, and answers to common questions about Windows 10, visit the following resources:
We may earn a commission for purchases using our links. Learn more.


